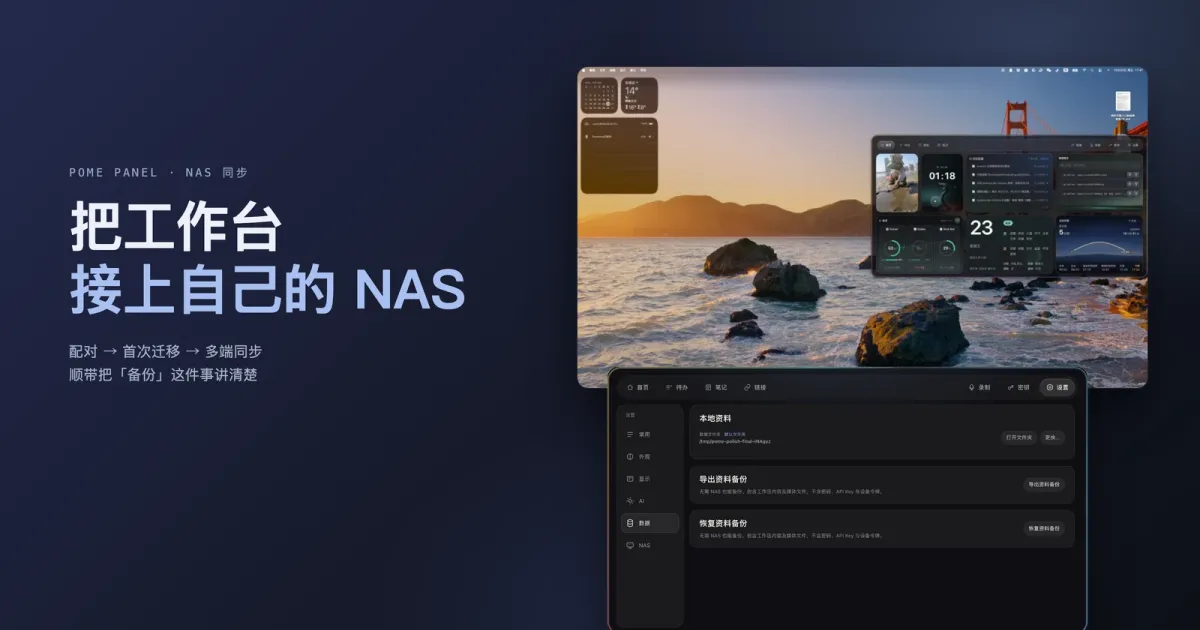
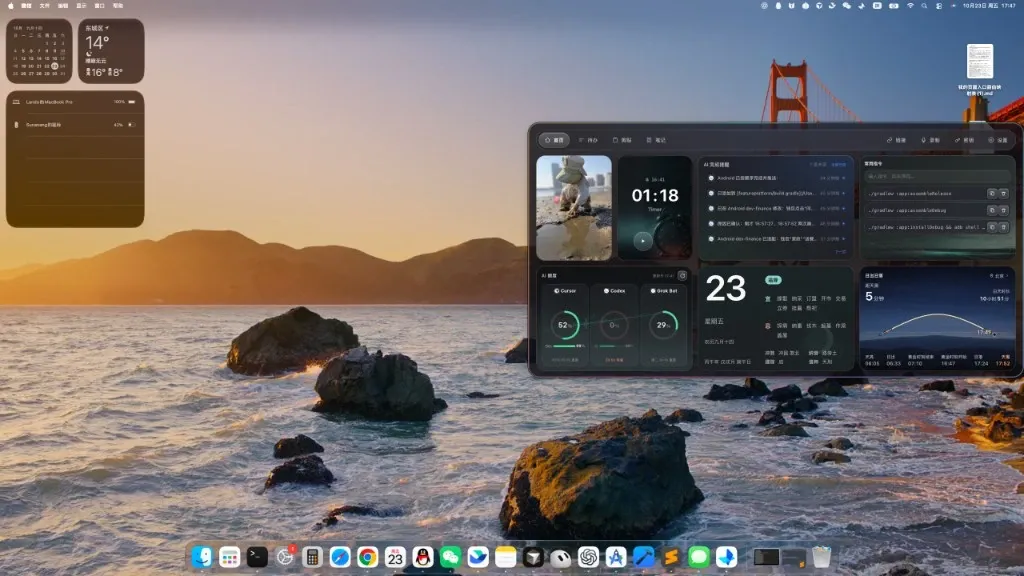
Out of the box Pome Panel is a single-machine workbench: todos, notes, links, recordings, all on one computer. To see that same content on a second machine, you point it at your own NAS.
This walks the setup in the order you’ll actually do it: install the companion, fill in the address, pair, migrate, sync, back up. The last part clears up the thing people mix up most — sync is not a backup.
Three different things, up front
| What you want | Where it lives in the app | Where the data is |
|---|---|---|
| Two computers seeing the same todos and notes | NAS sync | On your NAS (one workspace per device) |
| Surviving a new machine, a reinstall, or a dead NAS | Export data backup (zip) | Wherever you put it; no NAS involved |
| Insurance before a NAS migration or disk swap | Automatic pre-migration snapshot (one click to restore) | The local workspace folder |
The three don’t substitute for each other. That first row especially: sync means both sides stay identical, so you delete a row and it’s gone on the other machine too. Sync won’t save you from a mistaken delete. That’s row two’s job.
What you’ll need
| Item | Requirement |
|---|---|
| Desktop app | Pome Panel installed (macOS / Windows) |
| NAS | fnOS — Feiniu’s NAS OS — able to install apps (the companion needs os_min_version 0.8.0) |
| Network | Same LAN is easiest; across networks you need https with a valid certificate (see the section below on connecting across networks) |
| Account | Able to sign in to the NAS panel (the companion’s pairing page wants your NAS identity) |
Step 1: install the companion on the NAS
Search for Pome Panel in the fnOS app center (appname=pome-panel) and install it. You’ll get a new icon on the desktop — that icon matters, because the pairing code is generated on the page behind it.
Then check one thing: the companion is a web service running on the NAS, and the desktop app has to be able to reach it. On the same LAN the address usually looks like this:
http://<NAS 的局域网 IP>:<伴侣端口>That’s your NAS’s LAN IP followed by the companion’s port. The port shows up on the companion’s page and in the install info; if you changed it, or want it pinned, set the FNOS_DEVICE_PORT environment variable.
Can you skip the companion? Yes. The app works fine as a standalone desktop tool. NAS sync is an optional feature, not a prerequisite.
Step 2: enter the address and test it
Open the desktop app and go to Settings → NAS. That’s the sync section.
- Click Add endpoint.
- Put the address from above in Base URL — stop at the port, no path.
- Click Test connection and don’t go further until it passes. This is the step that rules out a typo’d address, a wrong port, and a firewall in the way.
If you enter an http:// (plaintext) URL, it’s rejected by default. You have to turn on Allow plaintext HTTP and click through a confirm dialog. The warning is not theater: plaintext HTTP on a LAN can be sniffed and tampered with, so someone else can rewrite what you push up. Loopback addresses (127.0.0.1 / localhost) are exempt automatically — you don’t need that switch for them.
Step 3: pair — a 6-digit code for a token
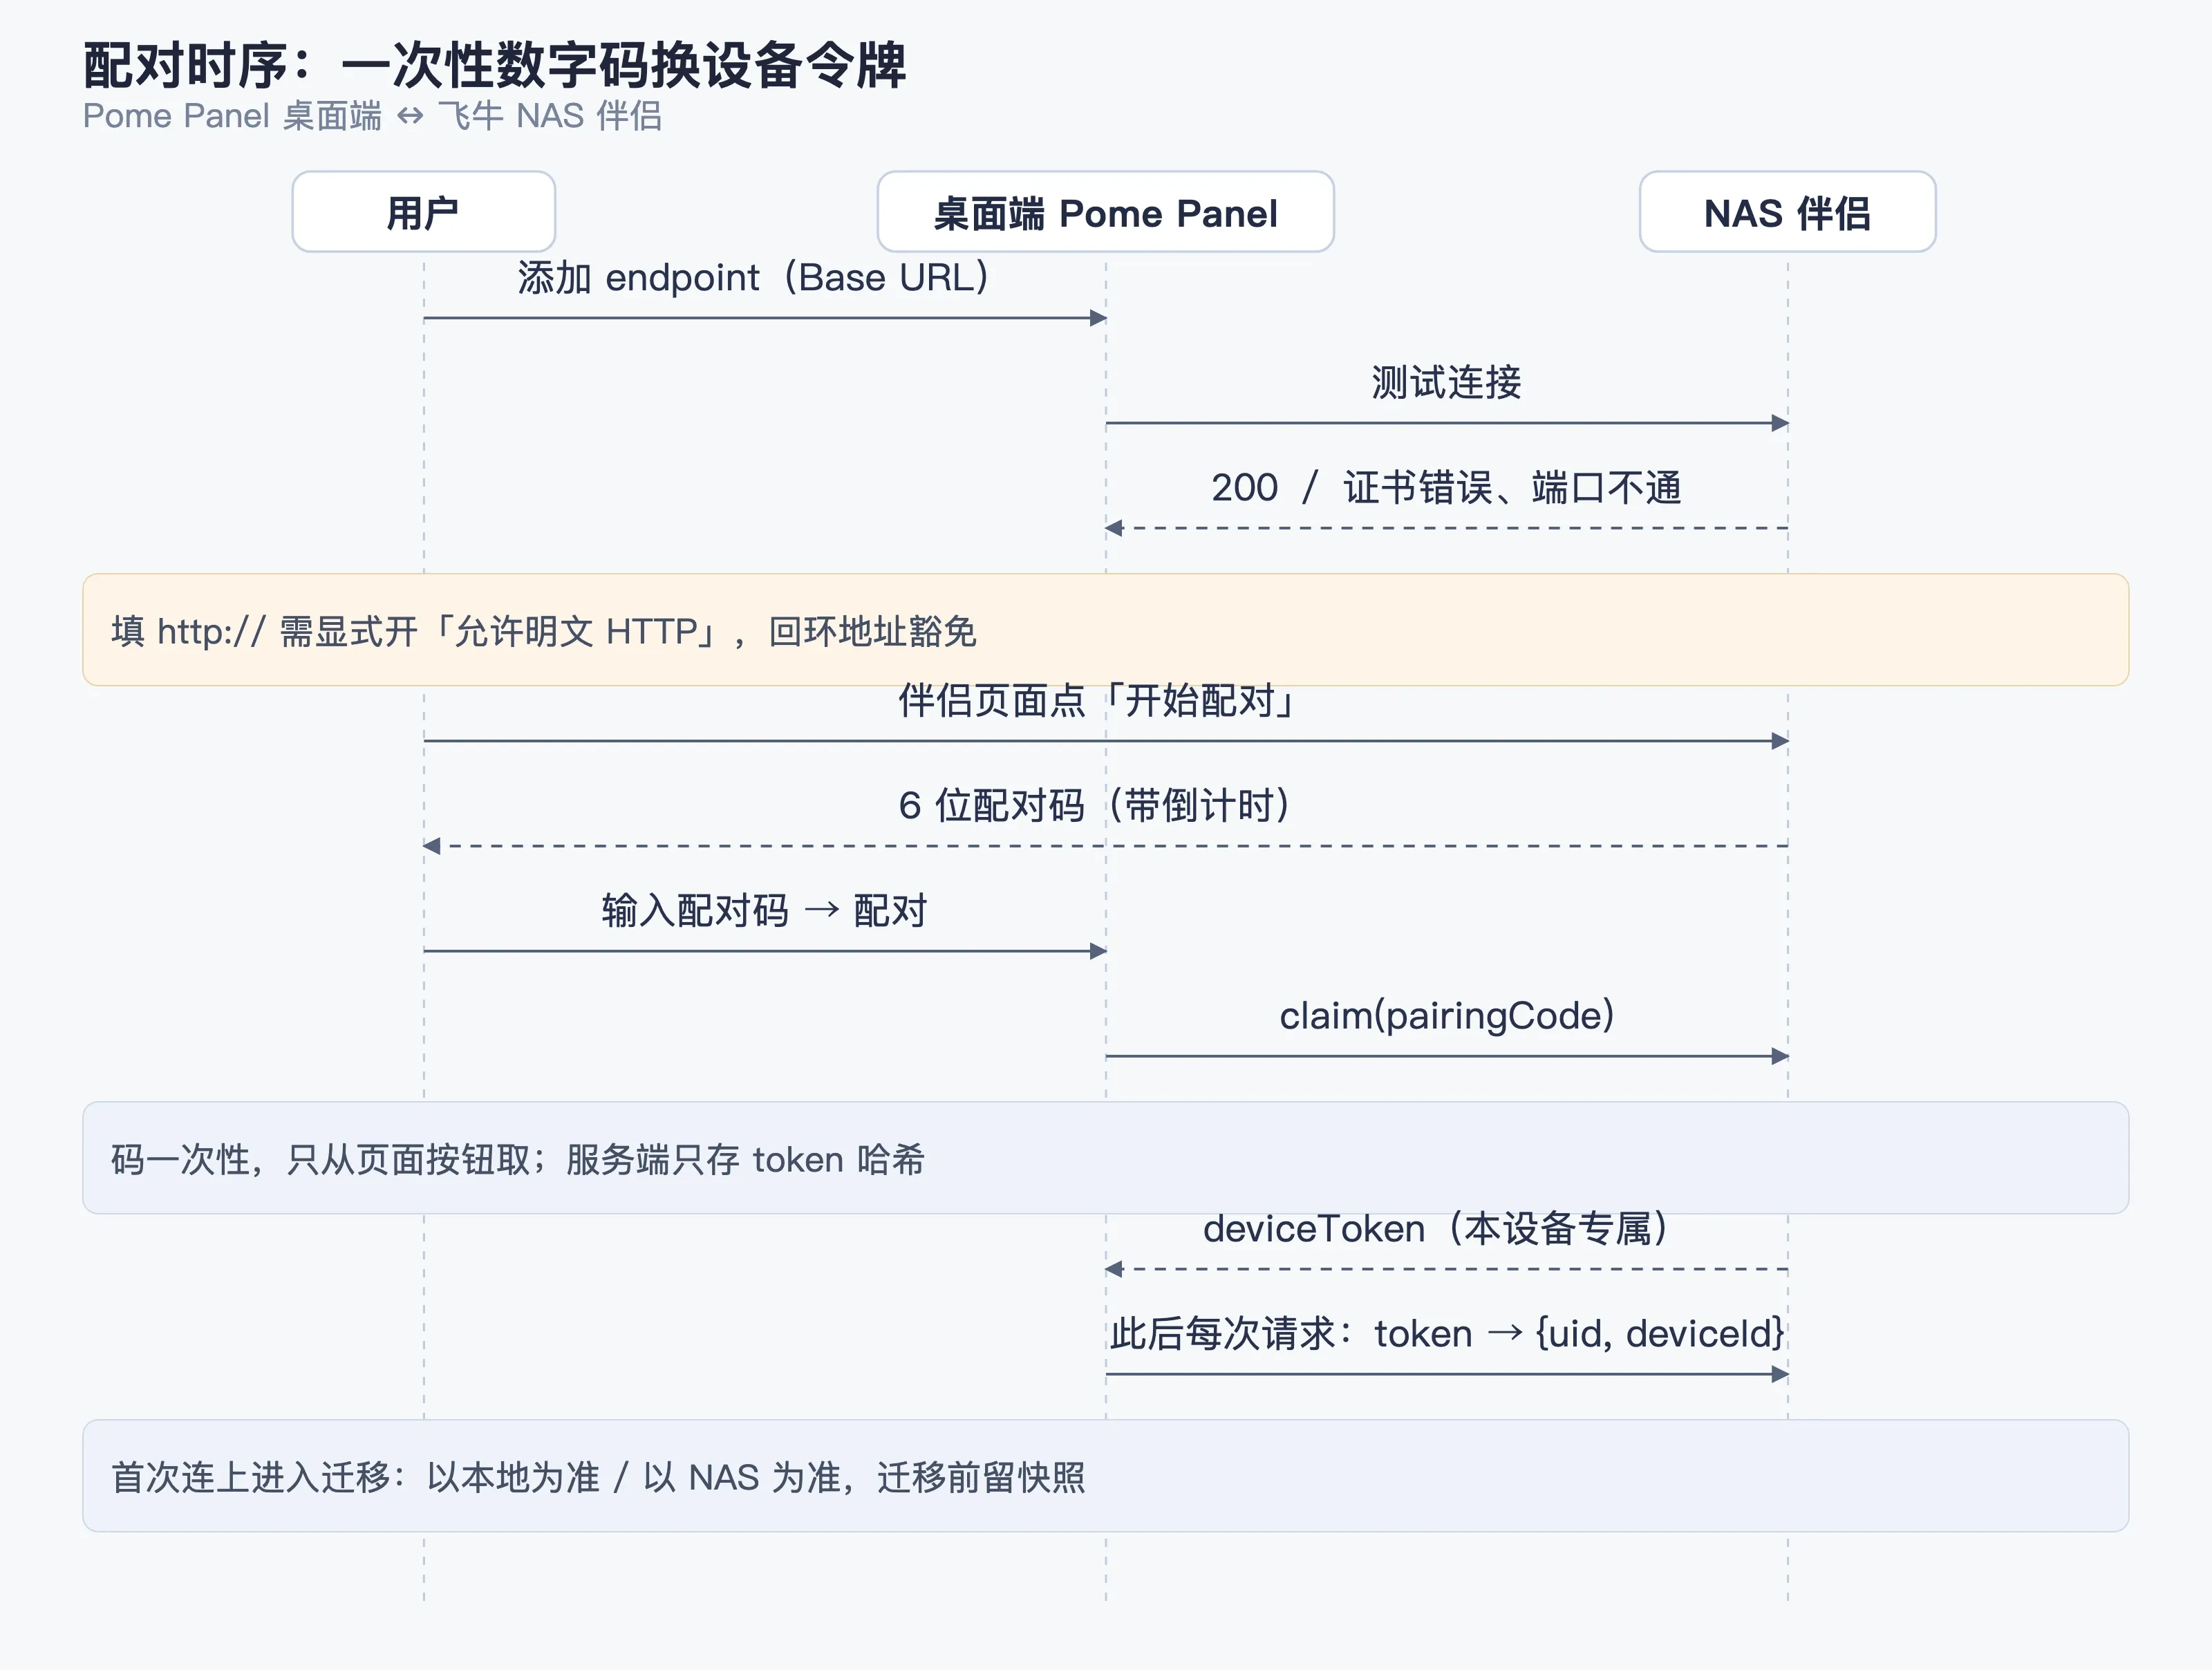
Pairing isn’t “sign in with your account”. It’s “trade a one-time number for a token that belongs to this device alone”. Which is why the desktop app never stores your NAS password.
- On the NAS, open the Pome Panel companion page (that desktop icon) and sign in with your NAS identity.
- Click Start pairing. The page shows a 6-digit pairing code with a countdown — if it runs out, generate a fresh one.
- Back in the desktop app: Settings → NAS → Pairing code, and type in those six digits.
- Click Pair.
After that the desktop app holds a token only this machine has (the server keeps just a hash). You can see every paired device in the companion page or in the desktop app’s device list, and revoke any of them whenever you like.
A few details that matter:
- The code only comes from that page button. You can’t pass it as a URL parameter — that’s deliberate, to stop it leaking.
- Swapping machines or reinstalling the OS? Revoke the old device’s token first, then pair again. The button on the desktop side is called Revoke token and pair again.
- If a device shows an insecureBound badge in the device list, it got bound over plaintext HTTP. Move to https and pair it again.
Connecting across networks
On the same LAN, http://IP:port is enough. Off-LAN, don’t punch the port through to the public internet — put https in front of it instead:
- Use the NAS’s own reverse proxy and certificate to give the companion a domain, then put
https://...in the desktop app’s Base URL; - or run your own tunnel (frp, cloudflared, whatever) — but it has to carry a certificate.
With a bad certificate the desktop app drops straight into a certificate error state instead of quietly connecting. That’s on purpose: if someone in the middle swapped the cert, the connection should fail.
Step 4: first migration — pick a side
The first time you connect, both sides have data, so you get a one-time migration that asks which side wins:
| Choice | What happens |
|---|---|
| Local wins | Every entity already on the NAS becomes a delete entry in the log, then my local copy gets pushed up |
| NAS wins | The local workspace is overwritten with whatever the NAS already has |
Either way, a snapshot is written on this machine before anything moves. Pick wrong? Settings → NAS → Restore last migration backup takes you back (it asks twice).
While it runs, the status bar reads migrating. When it’s done you pass through syncing → synced.
What syncs, and what doesn’t
The protocol defines 10 collections. 9 are actually wired up — P0_ENABLED_COLLECTIONS in collections.js. The one left out is homeLayout:
| Syncs | Doesn’t sync |
|---|---|
| Todos, notes, links, saved commands | Home screen widget layout (homeLayout isn’t wired yet) |
| Clipboard history (you have to switch it on in settings) | Meeting-mode auto-detection state (local only) |
| Recordings, AI completion records, AI settings | Window position, appearance preferences, other device-local state |
| The “already reminded” flag on todos | — |
| The secrets vault (ciphertext only — encrypted with AES-256-GCM before it’s uploaded) | — |
Sync is incremental, with version numbers. Every change goes up carrying the version it expects; if the server’s version doesn’t match it comes back as a conflict and the client rebases and pushes again. Two devices never overwrite each other. The mechanics live on the project page under “the server only guarantees monotonicity, the client does the rebase”.
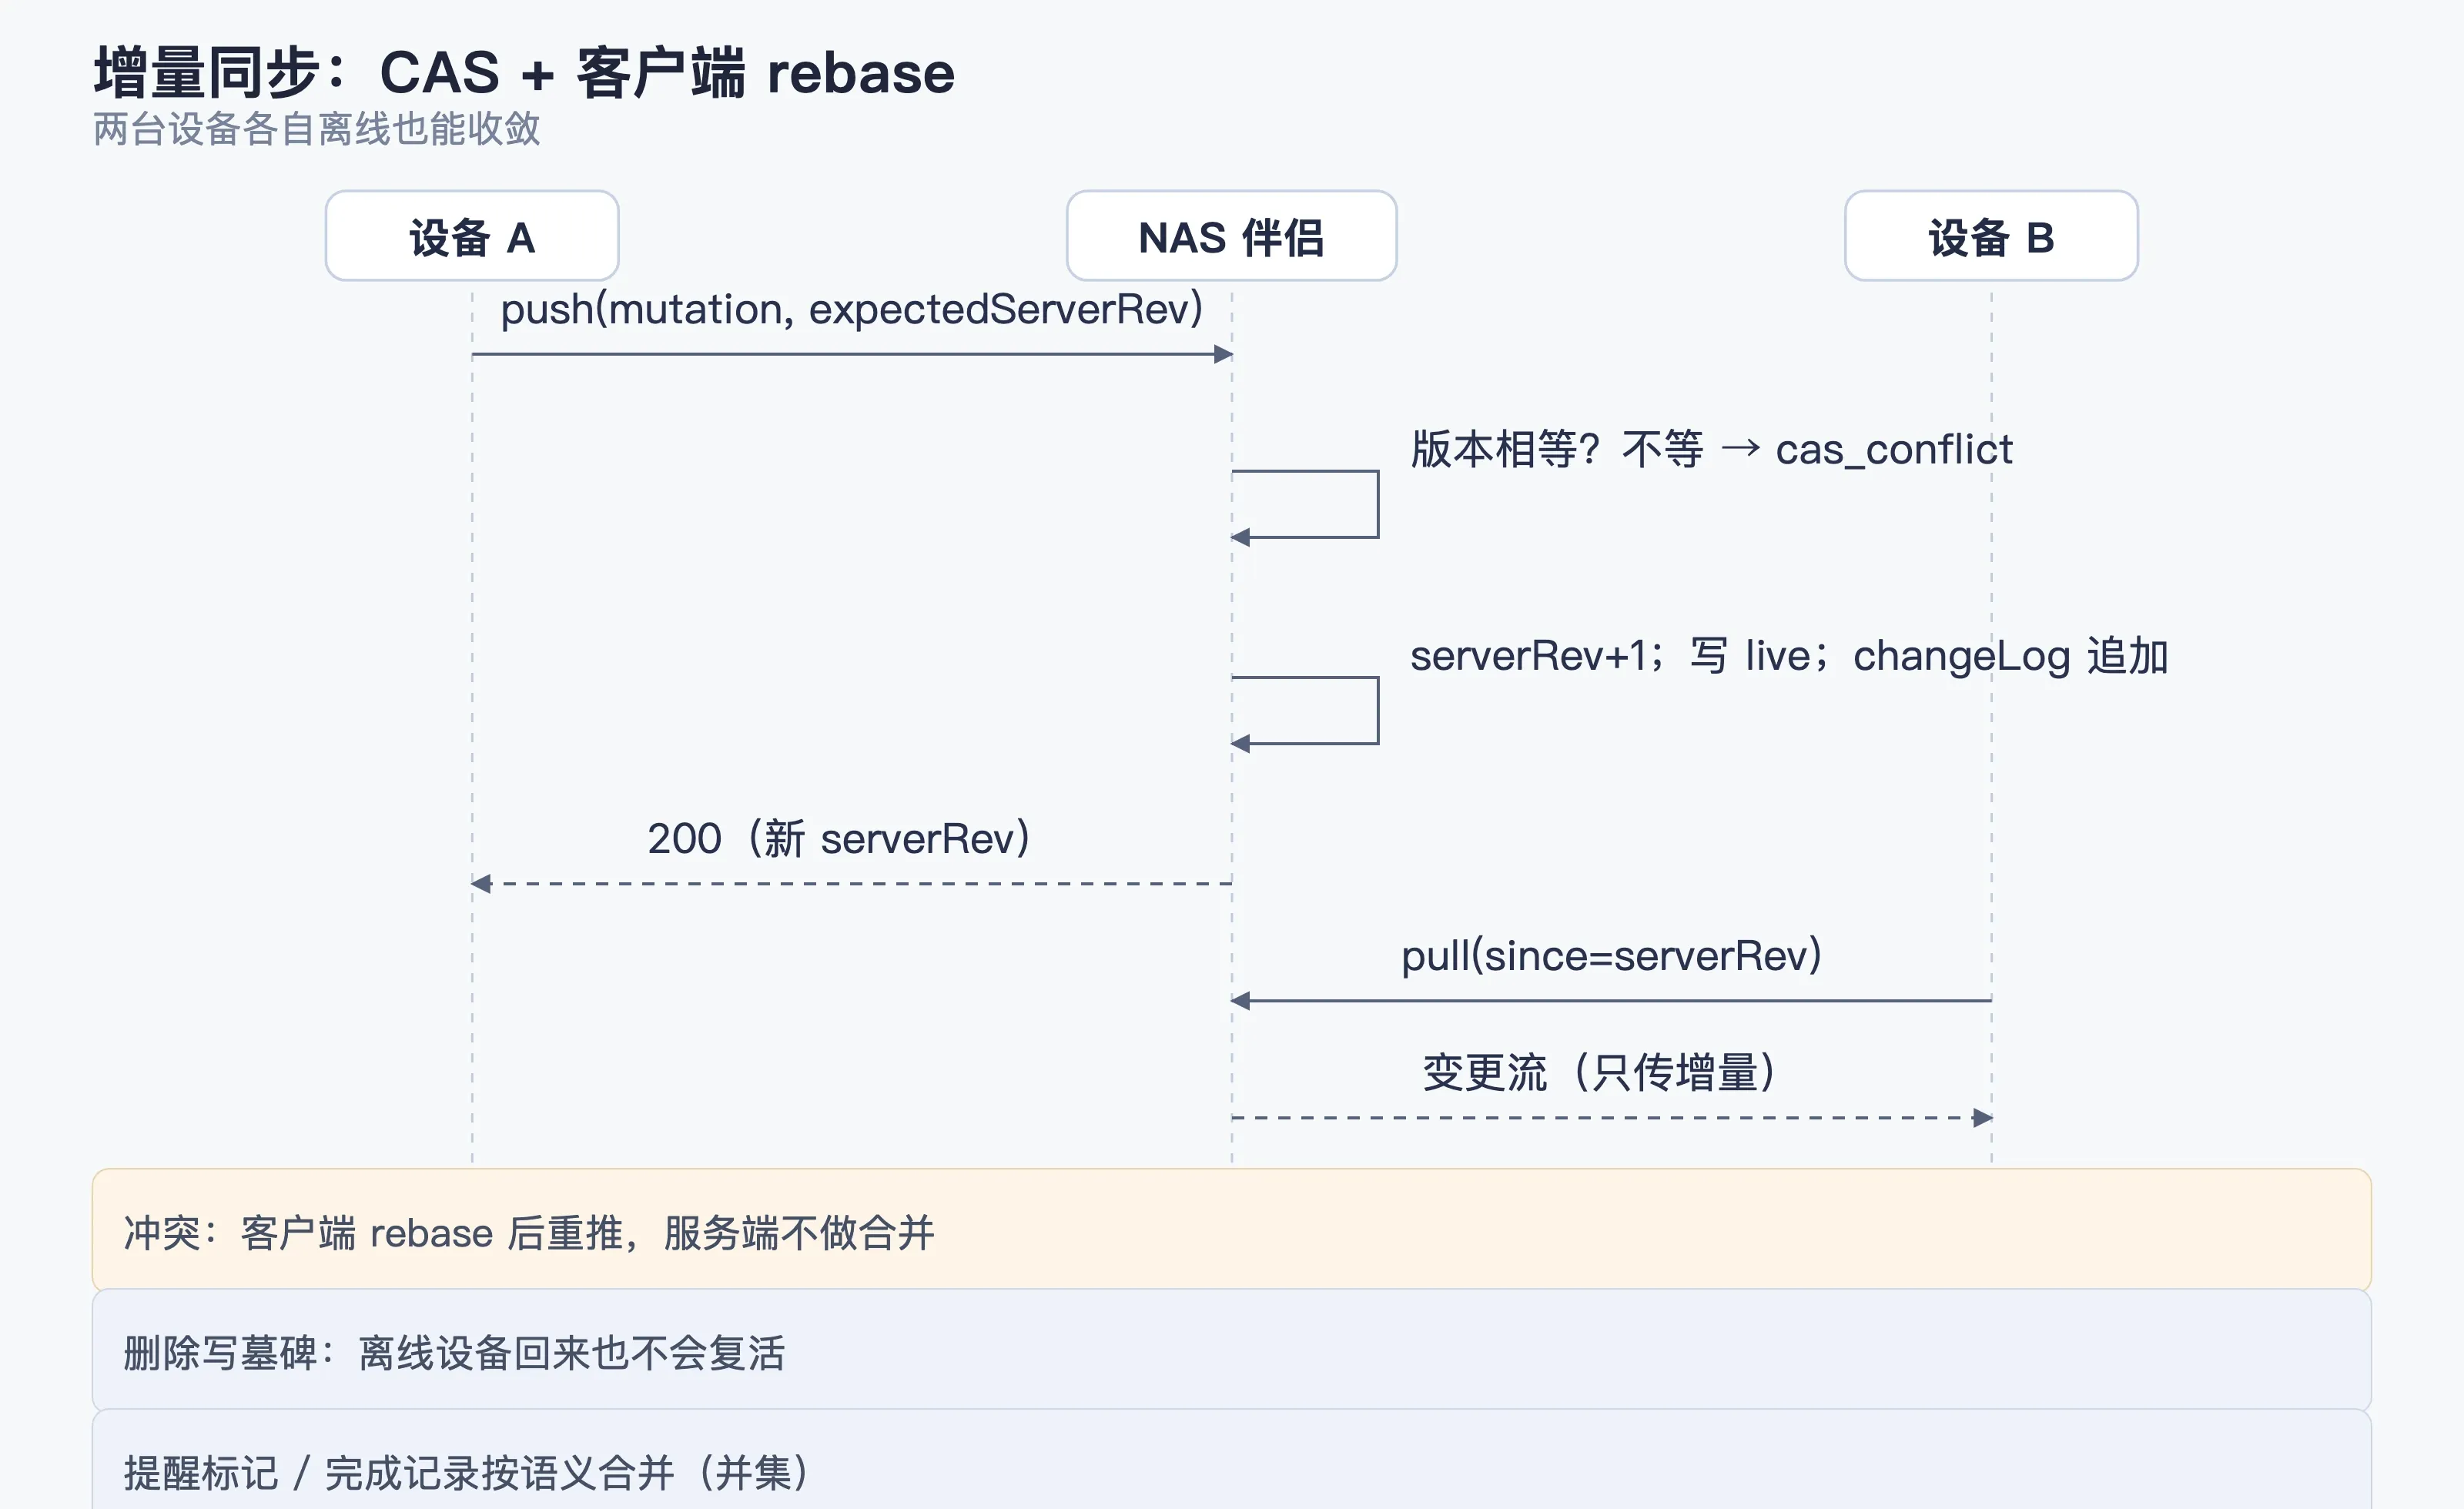
Conflicts are rare, but one class needs its own path: the reminder flag and AI completion records are mergeable. Two devices offline each reminded you about different tasks; once they reconnect the marks merge into a union instead of wiping each other.
How to read the status bar
The bar under Settings → NAS tells you which state you’re in. This table is the one I reach for most when something’s off:
| State | What it means | What to do |
|---|---|---|
| Unpaired | You haven’t paired yet | Do step 3 |
| Migrating | First migration in flight | Wait, and don’t close the app |
| Syncing | Pushing increments | Wait |
| Synced | All good | — |
| Offline, pending | Can’t reach the NAS; changes pile up locally | They’ll upload on their own once the NAS is back — no manual step |
| Re-auth needed | Token revoked or expired | Pair again |
| Schema incompatible | Desktop app and companion are too far apart on protocol version | Upgrade both to the same version |
| Migration failed | It got interrupted | Use “Restore last migration backup” to roll back, then retry |
| Certificate error | The https certificate isn’t valid | Fix the certificate. Don’t turn verification off |
| Endpoint disabled | This address got disabled by policy | Check the address or re-enable it |
Most states have a Retry button next to them. Click it first — plenty of these heal themselves.
Backups: three kinds, don’t mix them up
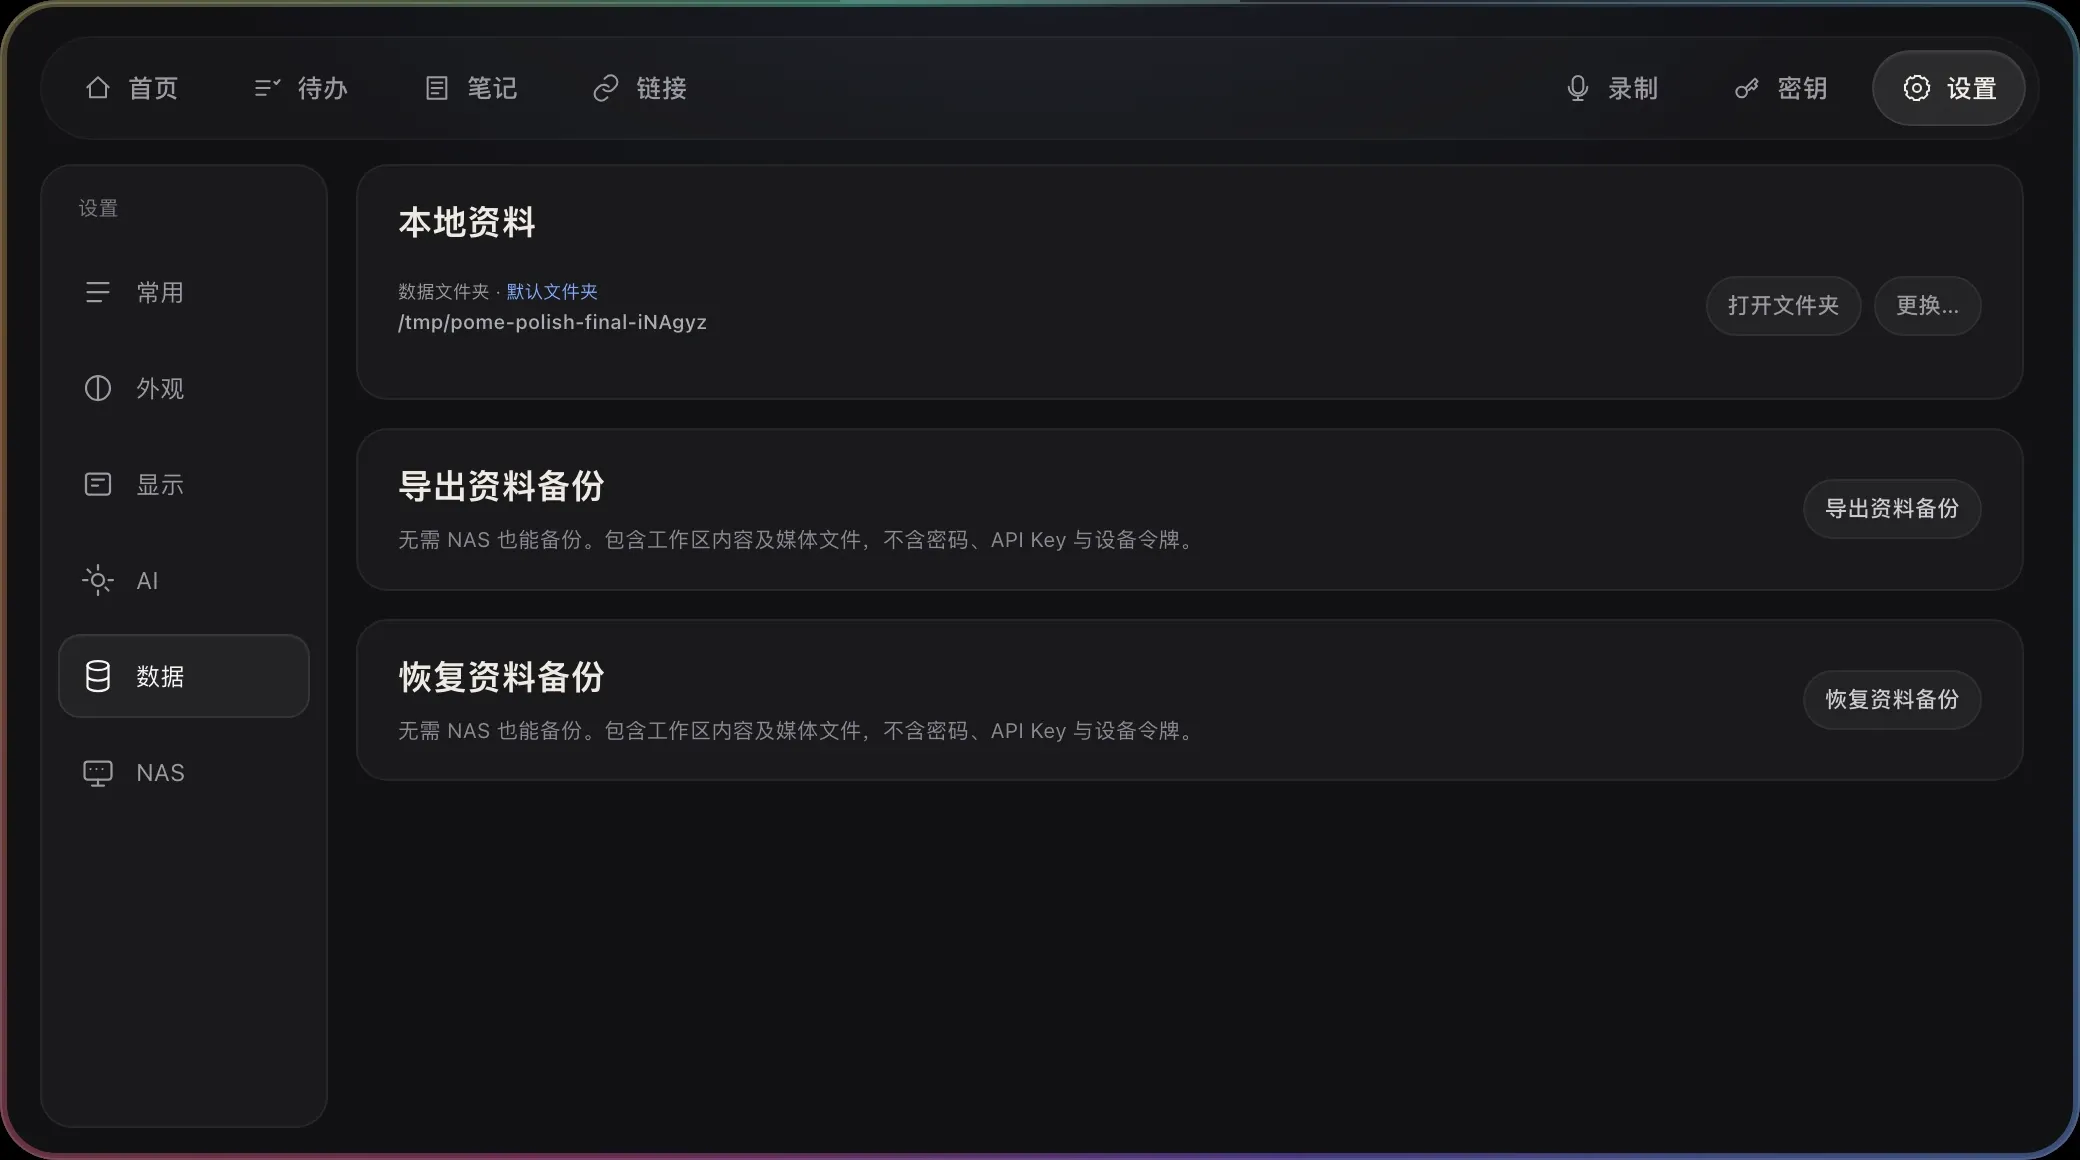
Export data backup (the workhorse — no NAS needed)
Settings → Data → Export data backup writes out a zip. Inside:
manifest.json 格式与版本、应用版本、创建时间、备份 ID、各集合条数、文件清单manifest.sha256 manifest 的校验和<工作区各集合>.json<媒体文件>It contains your workspace content and media files, but no passwords, API keys, or device tokens. Which is exactly why that zip is safe to drop on a cloud drive.
Restoring (Restore data backup) runs four checks: the manifest checksum, the file count, the per-collection row counts, and “regular files only” — no directories or symlinks sneaking in. Fail any one and it refuses outright. It won’t half-overwrite what you already have.
Automatic pre-migration snapshot
Written automatically before every first migration or switch of authority, and kept in the local workspace folder. The button is Restore last migration backup.
The NAS side
Synced data sits in the companion’s data directory on the NAS. Back that up with the NAS’s own tooling — snapshots, remote sync, or a scheduled copy of that directory somewhere else. The desktop app’s export has nothing to do with the NAS side.
One-line mnemonic: the desktop export saves your content, the NAS backup saves the copy on that server, and sync just keeps the two ends equal.
Common problems
| Symptom | Cause | Fix |
|---|---|---|
| Test connection keeps failing | Wrong port, different subnet, or a firewall | Open http://IP:port in a browser first and confirm it responds |
| Pairing code rejected as invalid or expired | The code has a countdown; past it, it’s dead | Go back to the companion page and generate a new one |
| Paired, but stuck on “offline, pending” | Token’s fine, network isn’t (switched networks, machine slept) | Get back on the same network and hit Retry |
| The same note differs between two machines | One hasn’t finished syncing, or is holding changes offline | Watch the status bar; only judge once both say “synced” |
| You want to move to a new machine | The old device’s token is still live | Revoke first, then pair on the new machine |
| Restore rejected | Checksum mismatch, or a file got modified | Use the original backup file — don’t unpack it and repack by hand |
The short version
Pairing comes down to one sentence: a one-time 6-digit code buys a token for this device; the NAS never holds your password and the desktop app never holds your account. Everything else is getting the address right and reading the status bar.
Backups are the other half: sync guarantees sameness, backups guarantee recovery. If the data actually matters, put the export into whatever backup routine you already run — once a week, off-site, next to everything else.
Related:
- How it’s built (sync protocol, CAS, transaction log): the Pome Panel project page
- Installers and changelog: github.com/Sunanang/Pome-Panel/releases